LabPad® INR
The smart device for PT/INR test
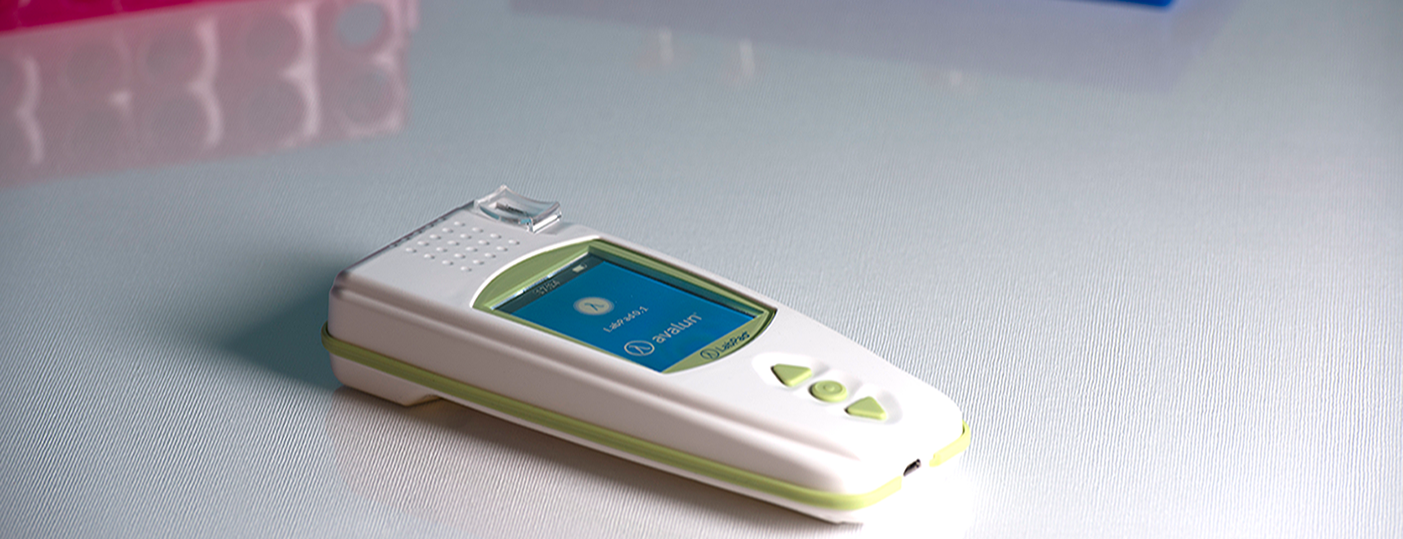
The LabPad® INR is an In-Vitro Diagnostic (IVD) device designed to measure blood coagulation time and indicate INR value (International Normalized Ratio), Prothrombin Time (PT), and the Quick Time (QT). Use of the LabPad® INR has been adapted for monitoring of your oral anticoagulant treatment through type vitamin K antagonists (VKA).
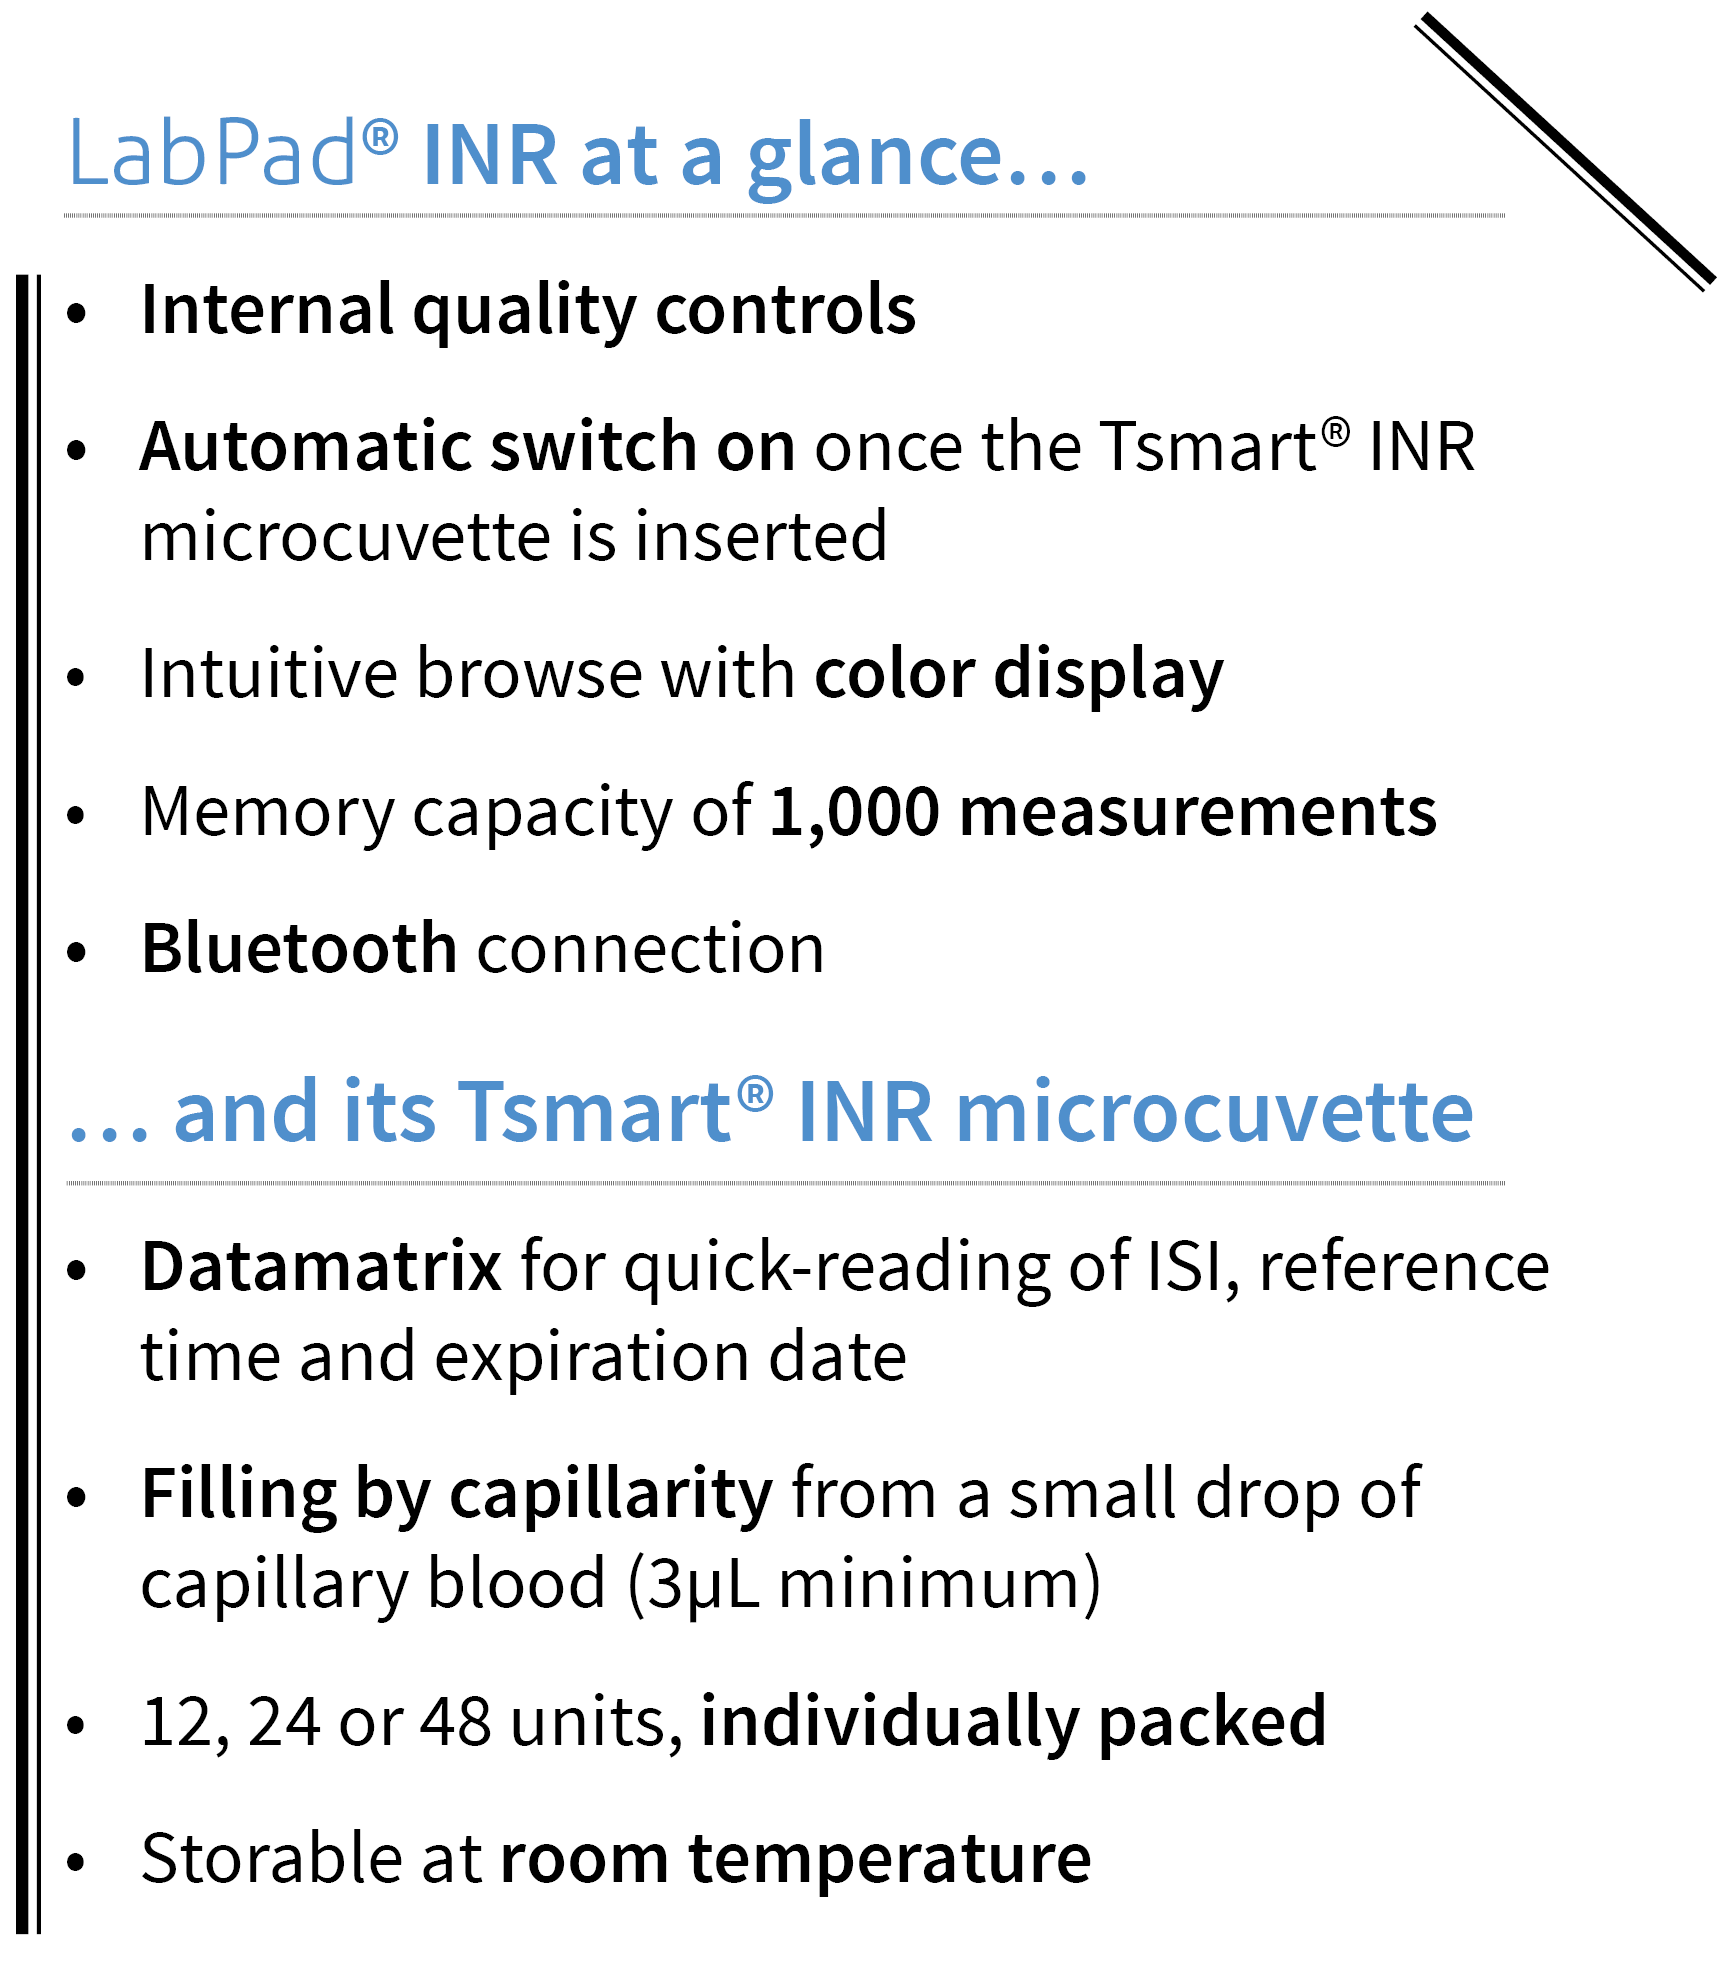
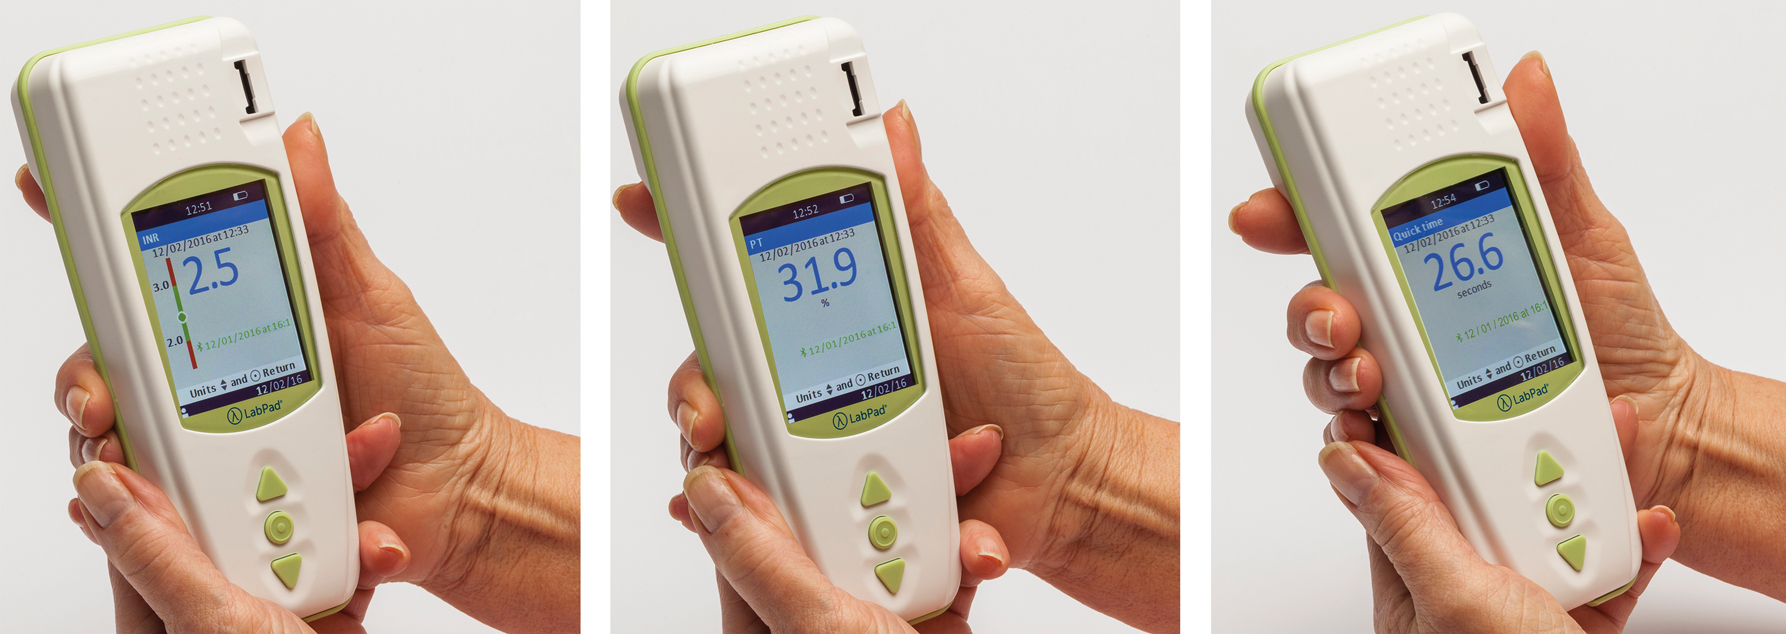
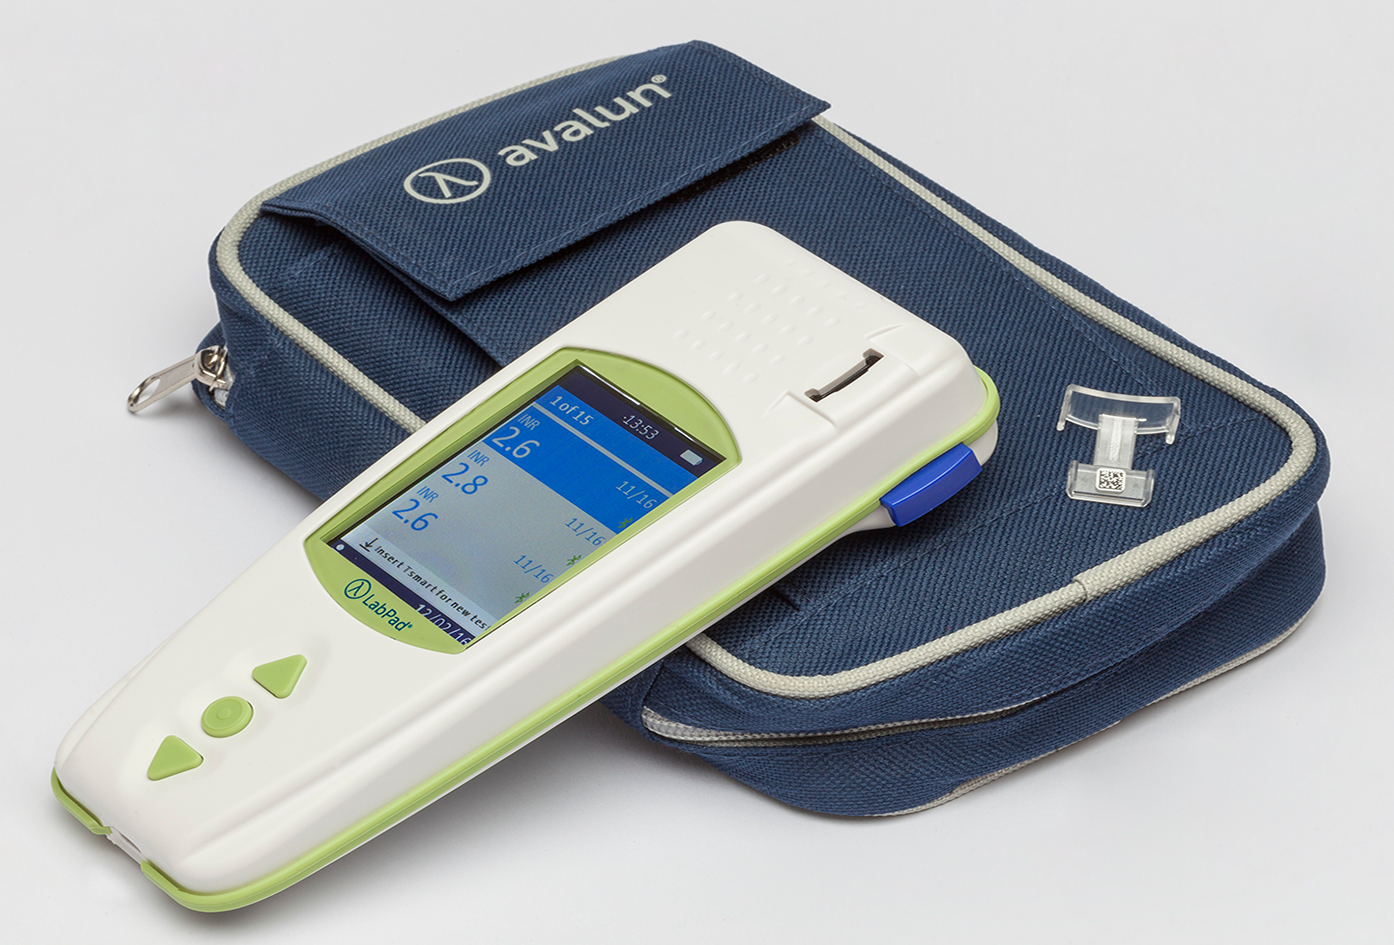
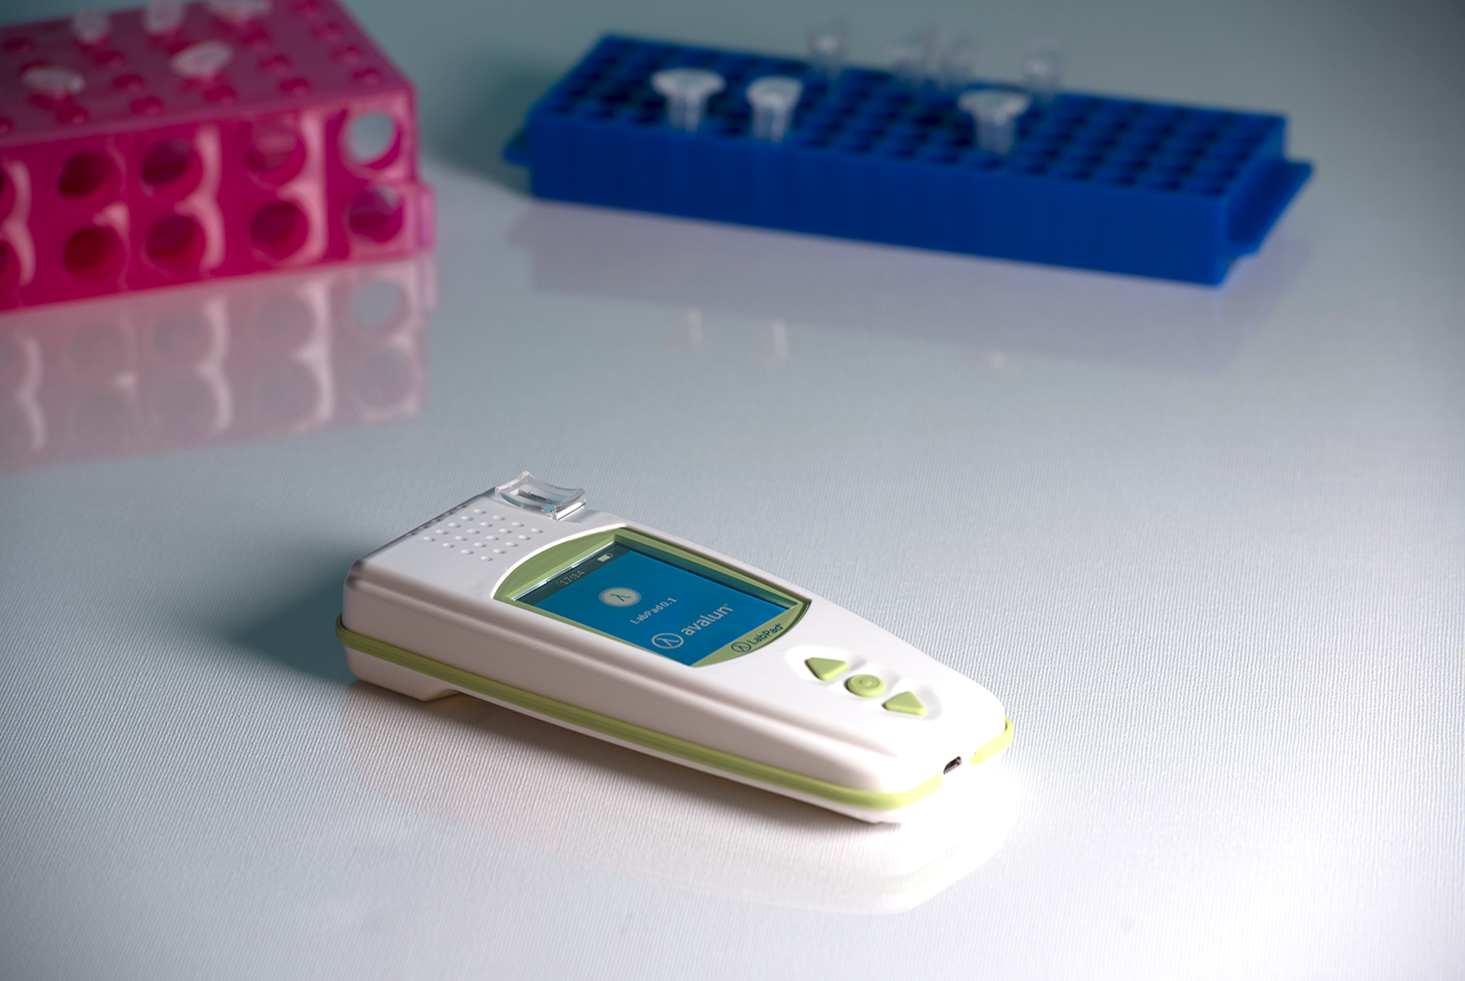
The LabPad® INR system
To perform a PT/INR test with Avalun testing device, you will need:
- The LabPad® INR with its battery charger
- Tsmart® INR microcuvettes individually packed in boxes of 12, 24, or 48 units
- A carrying bag for all you need to perform a test
Complementary elements that are not provided with the device and that are necessary to perform a test properly are the following:
- A 21G lancet or a lancing device adequate for healthcare professional use
- Dressing gauze or a paper tissue
- A bandage
3 steps for an efficient handling of blood sample
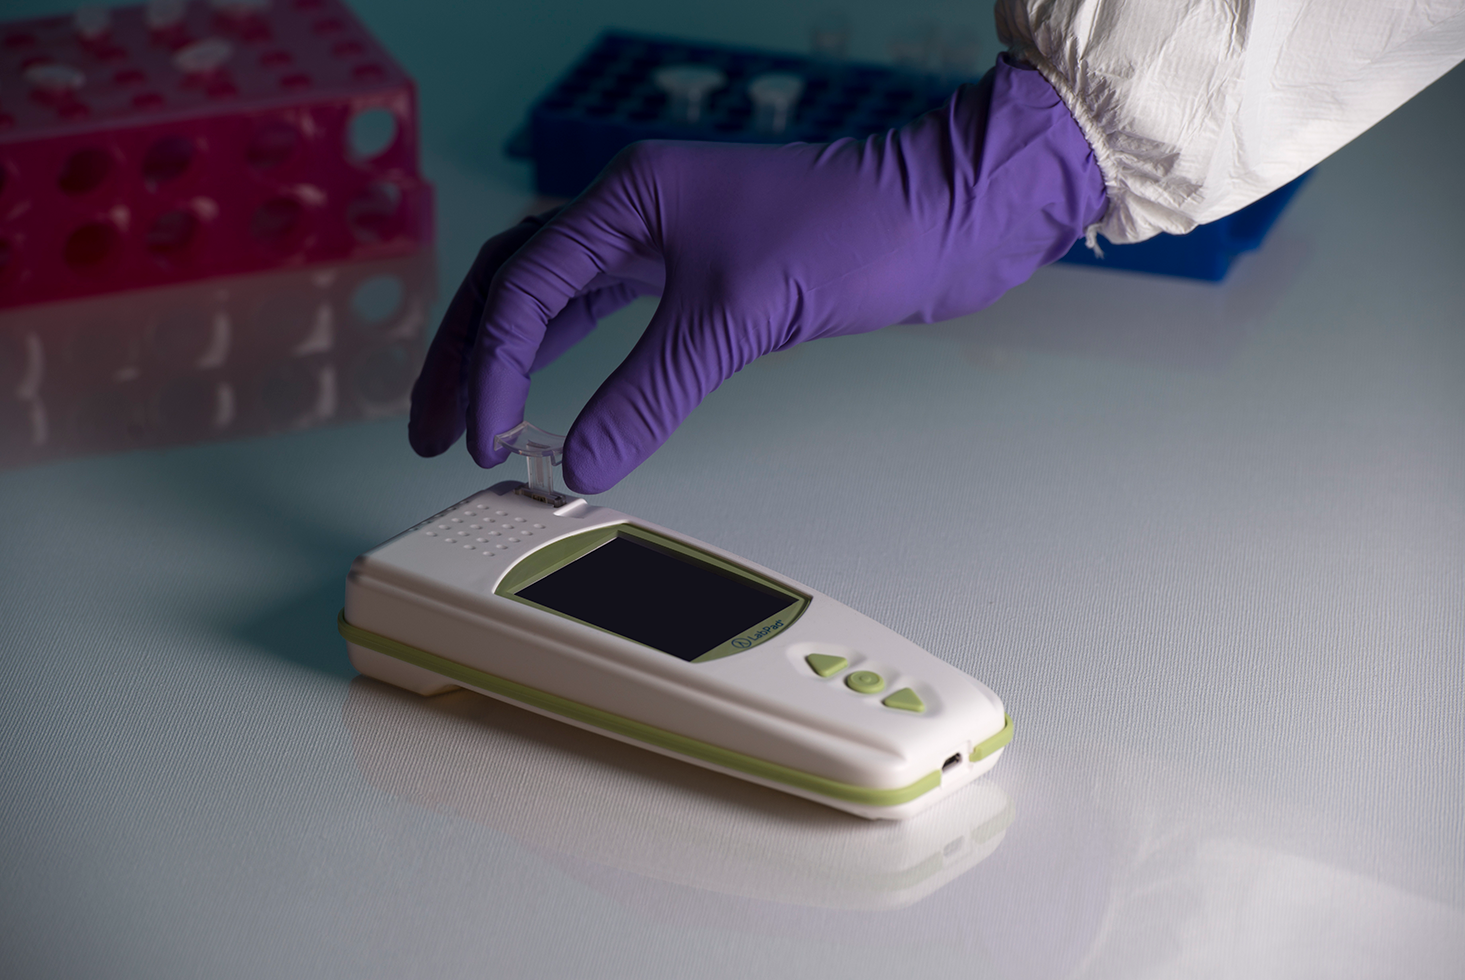
Step 1: inserting the microcuvette
Place your LabPad® INR on a stable, flat, and vibration-free surface and use single-use gloves. Insert the Tsmart® INR microcuvette in the insertion area. The device switches on.
Step 2: sampling and applying blood
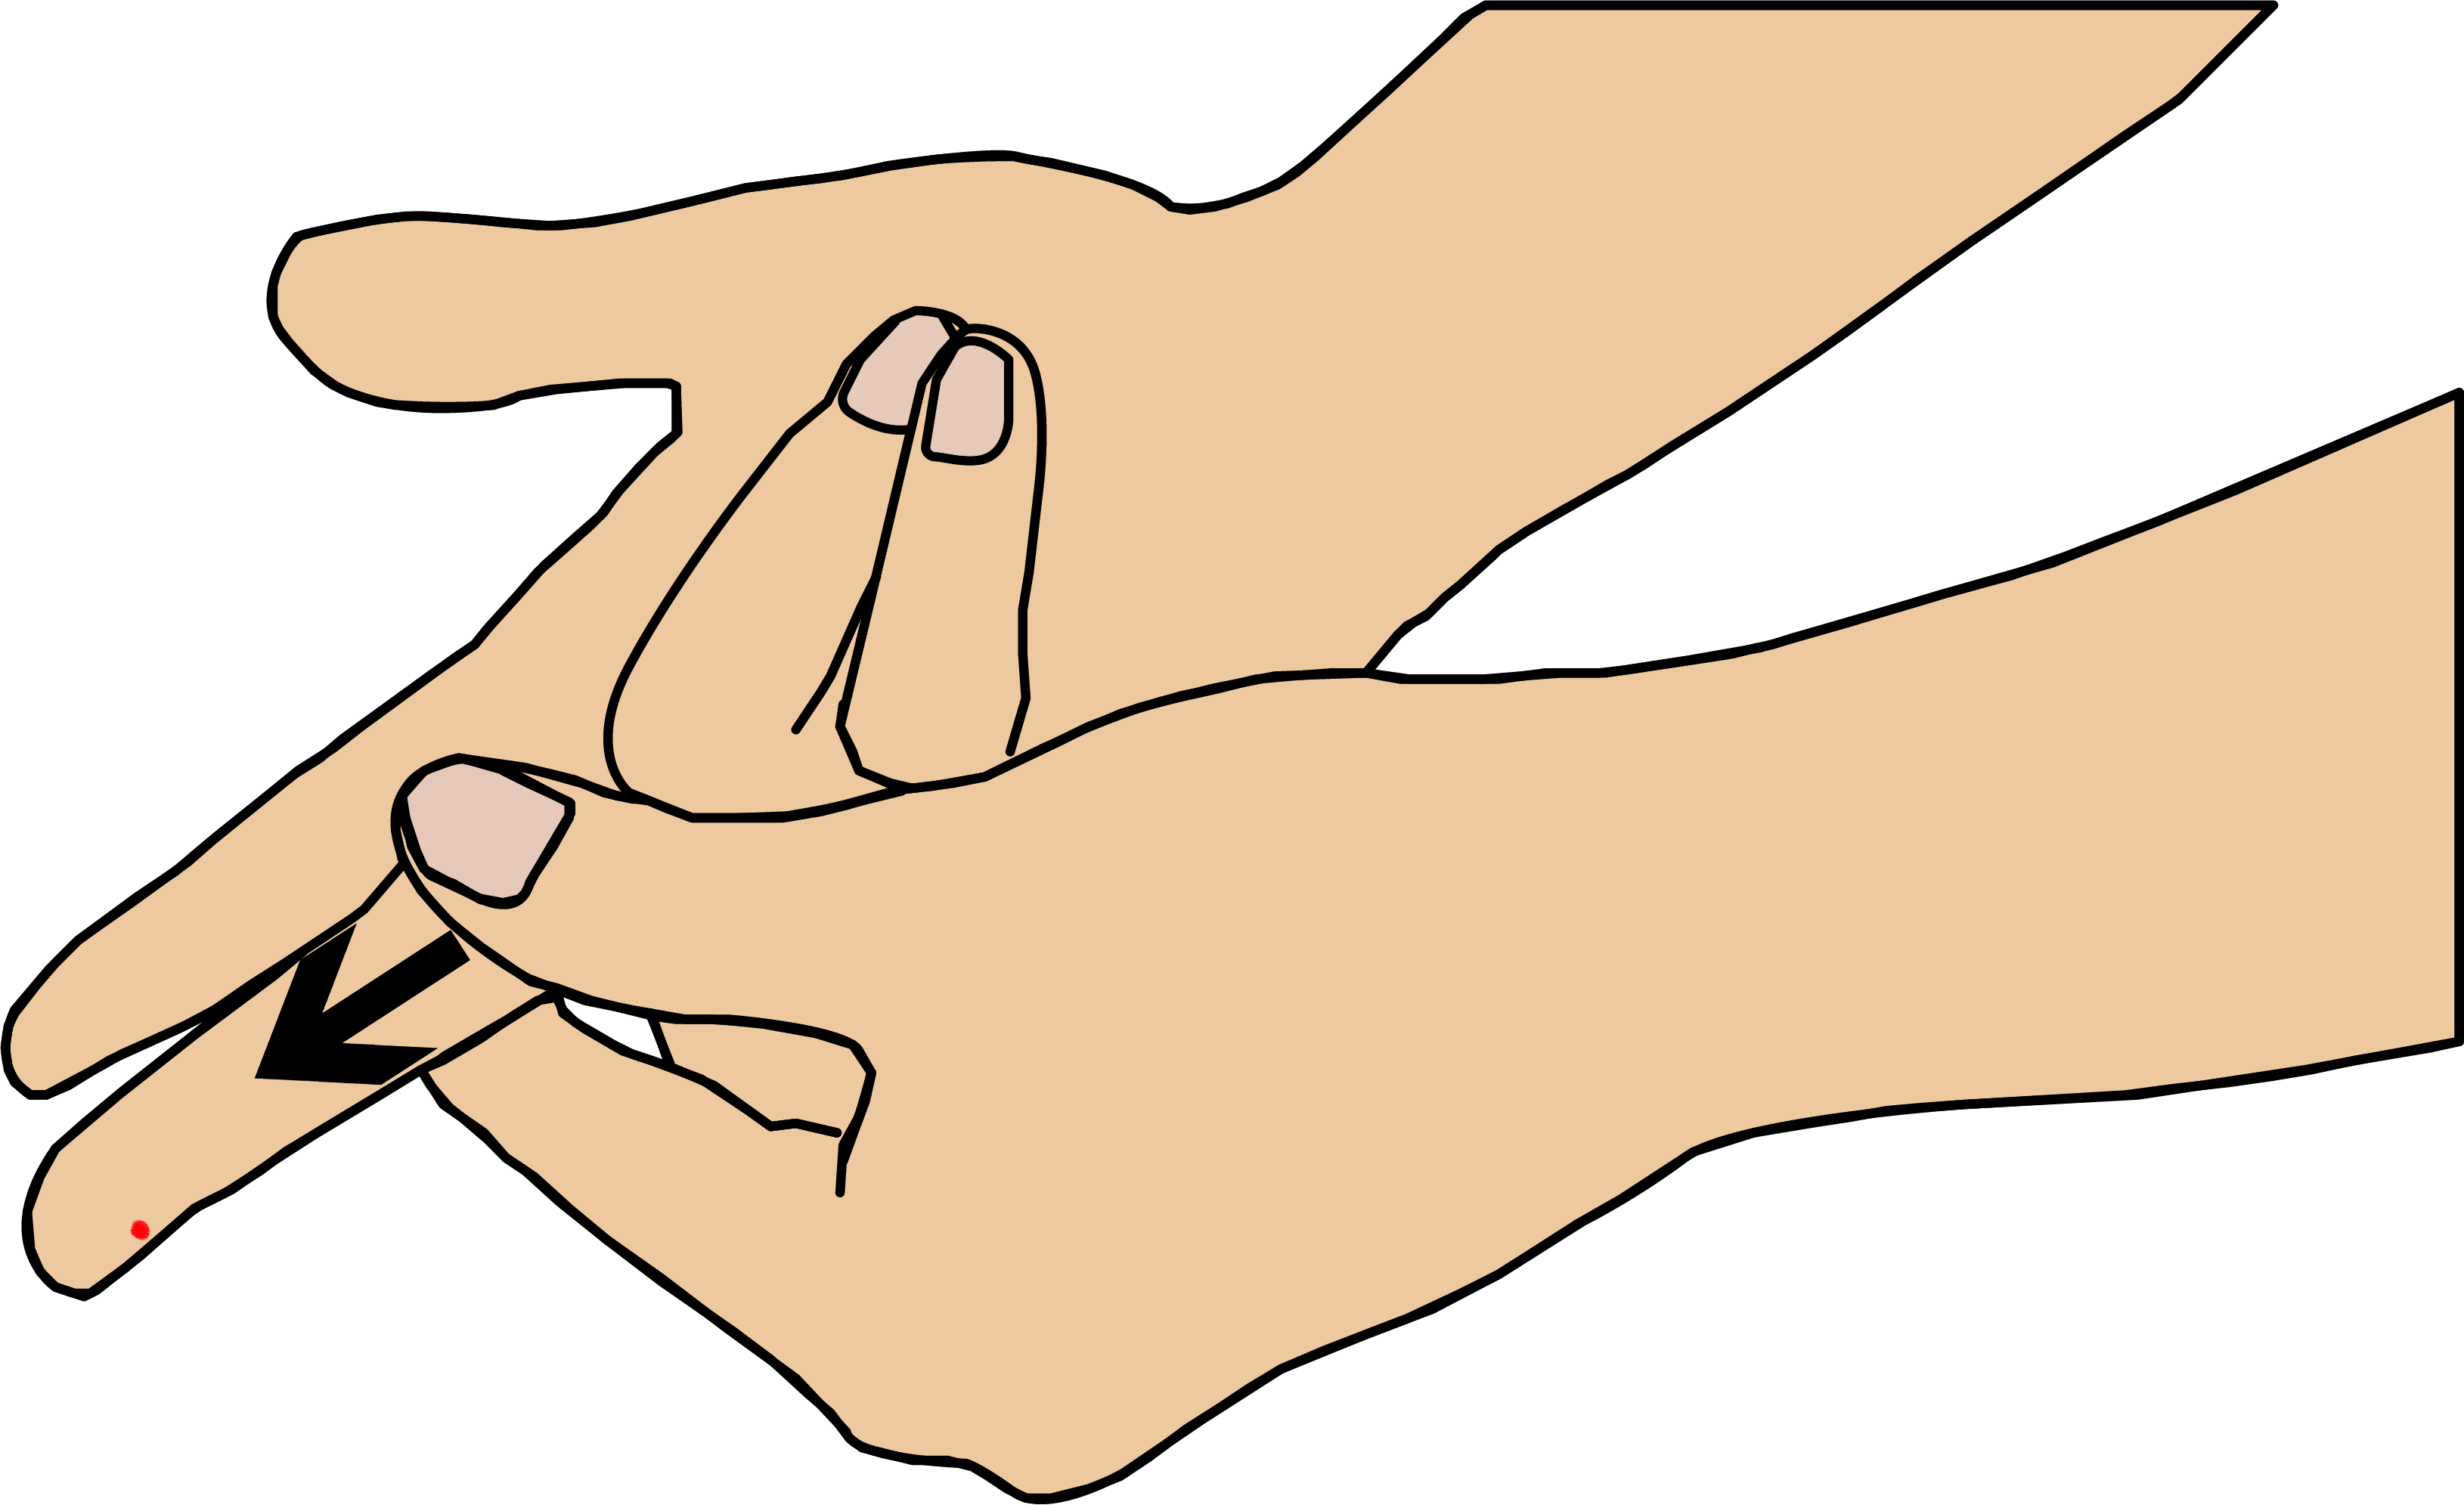
Disinfect the finger of the patient and leave it to dry completely or dry it with a soft rag or lint-free cloth. The patient’s hand must be warm and relaxed. Prick on the side of the fingertip, preferably the ring or middle finger.
Apply light pressure to the finger and massage it towards the fingertip to get a drop blood with a sufficient volume (3µL minimum).
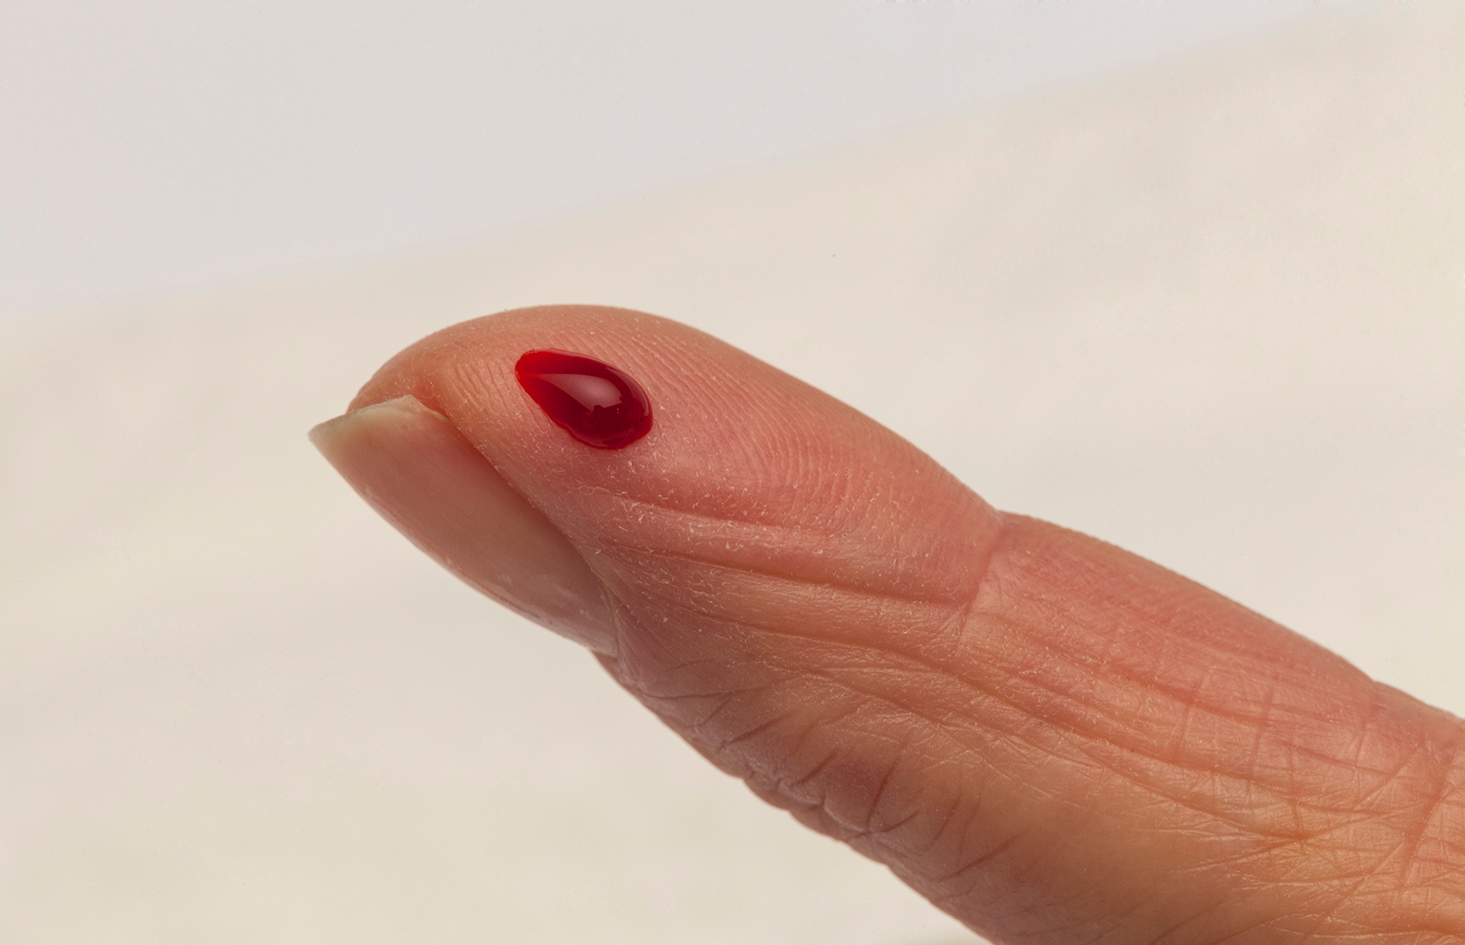
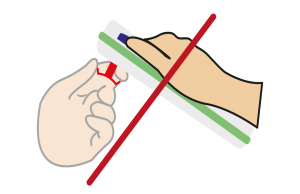
“How to apply the blood drop onto the microcuvette Tsmart® INR“
Step 3: Discarding the microcuvette and result reviewing
To discard the Tsmart® INR microcuvette, pick up your LabPad® INR, turn it down face towards the floor above a bin or any other appropriate recipient, and press the side blue button.
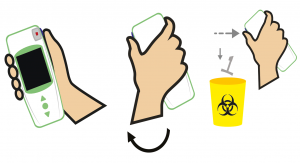 Once the Tsmart® INR is discarded, the screen displays the list of results with the newest result at the top.
What is the Tsmart® INR microcuvette ?
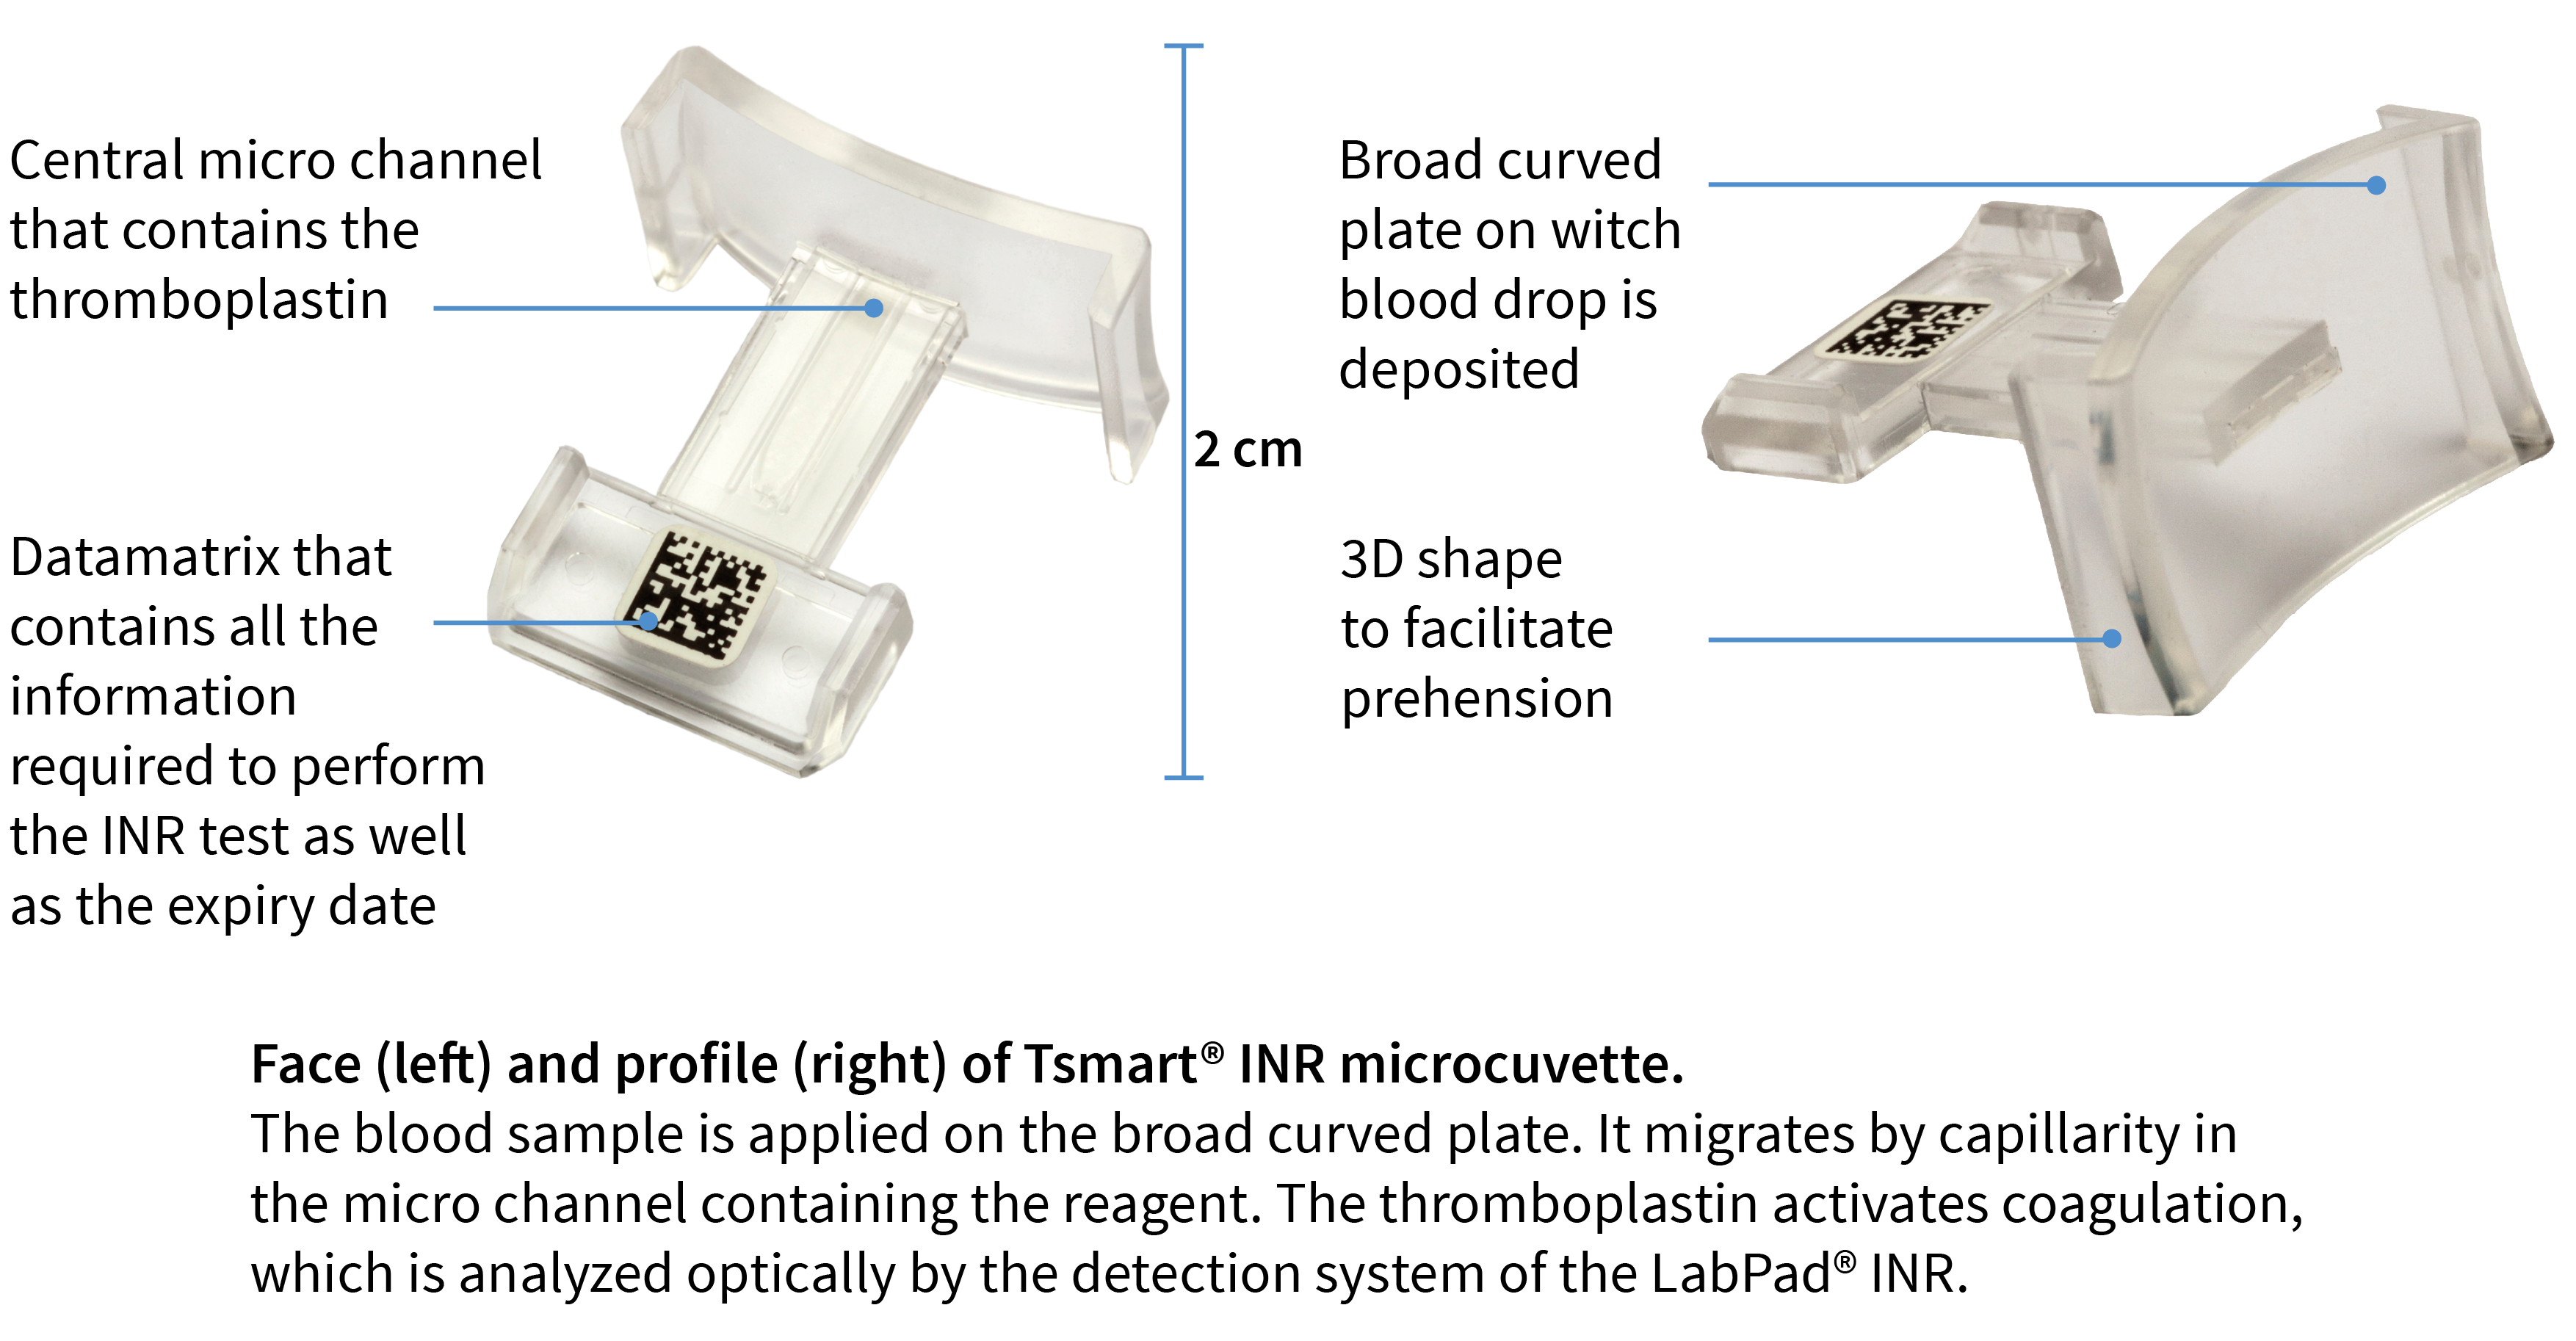
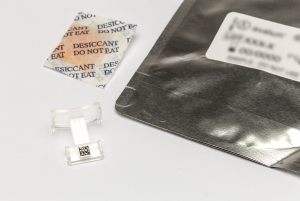
The Tsmart® INR microcuvette is an In-Vitro Diagnostic (IVD) medical device used for measuring the clotting activity of the blood with the LabPad® INR. It can be used with whole capillary blood or non-anticoagulated venous blood.
Applying blood
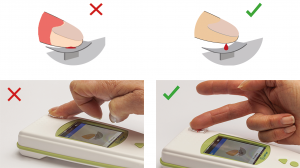
When the “drop blood” icon is displayed, prick the side of the fingertip and drop the blood on the Tsmart® INR microcuvette curved plate without squeezing the finger.
When the Tsmart® INR is properly filled, you hear a “beep”. Remove the finger of the patient.
Automatic release
Do not try to pull out the Tsmart® INR, as you may damage the microcuvette and leave part of it inside the device.
Specifications
Operating conditions
Operating conditions
Flat, stable and vibration-free surface
Place properly enlightened
Ambient temperature 15-32°C
Relative humidity level < 85%
Tsmart® INR microcuvette
In ambient temperature before use
Within 10 min after opening the pouch
Storage conditions
-10°C to +50°C (14°F to 131°F)
Tsmart® INR microcuvette
Between 15 and 25°C until the expiry date indicated on the pouch
Possible refrigeration
Transport conditions
-20°C to +70°C
Tsmart® INR microcuvette
-20°C to +50°C
In its cover
Power off
Can be set from the “Settings” menu
INR measuring
Measuring range
PT 7.2 -72 seconds
QT 10-110%
Analysis time
ISI
Quality controls
LabPad® INR and Tsmart® INR microcuvette
– electronic components
– reagent lyophilized and embedded inside the microcuvette
– filling of the micro channel
Features
Size
W 7.21 cm
H 3.18 à 2.26 cm
Weight
User interface
Color display
Easy settings
USB interface
Beep
Memory
Battery charger
Power pack 100-240v, 50-60Hz, input 0.2A, output 1.0A
Battery autonomy
3 months without use
Bluetooth
Can be set from the “Settings” menu
Biological waste management
Blood sample
Type of blood sample
Blood sample size
Test limitations and interferences
- Bilirubin up to 513 µmol/L (30mg/dL)
- Hematocrit range between 25 and 55%
- Hemolysis up to 1 000mg/dL (Hemoglobin)
- Triglycerides up to 11.3 mmol/L (1 000mg/dL)
Use of an alternative method of measurement is recommended in the event of a transition period with a heparinized treatment.
The clotting factor sensitivity for Factors II, V, VII and X has been evaluated. Data are available for healthcare professionals only, upon request.
If the presence of anti-phospholipid antibodies (APAs) is known or suspected, refrain from using. Such presence may cause incorrect results.
Do not use with New Oral Anti Coagulants (NOACs).
Tsmart® INR instructions for use


